
First cPanel makes it easy to create a professional email account using your own domain name. With hosting services from www.cyberdeveloperbd.com, you can manage your hosting and create professional domain-based email accounts. For example, if your domain is example.com, you can create email addresses such as info@example.com, support@example.com, or admin@example.com.
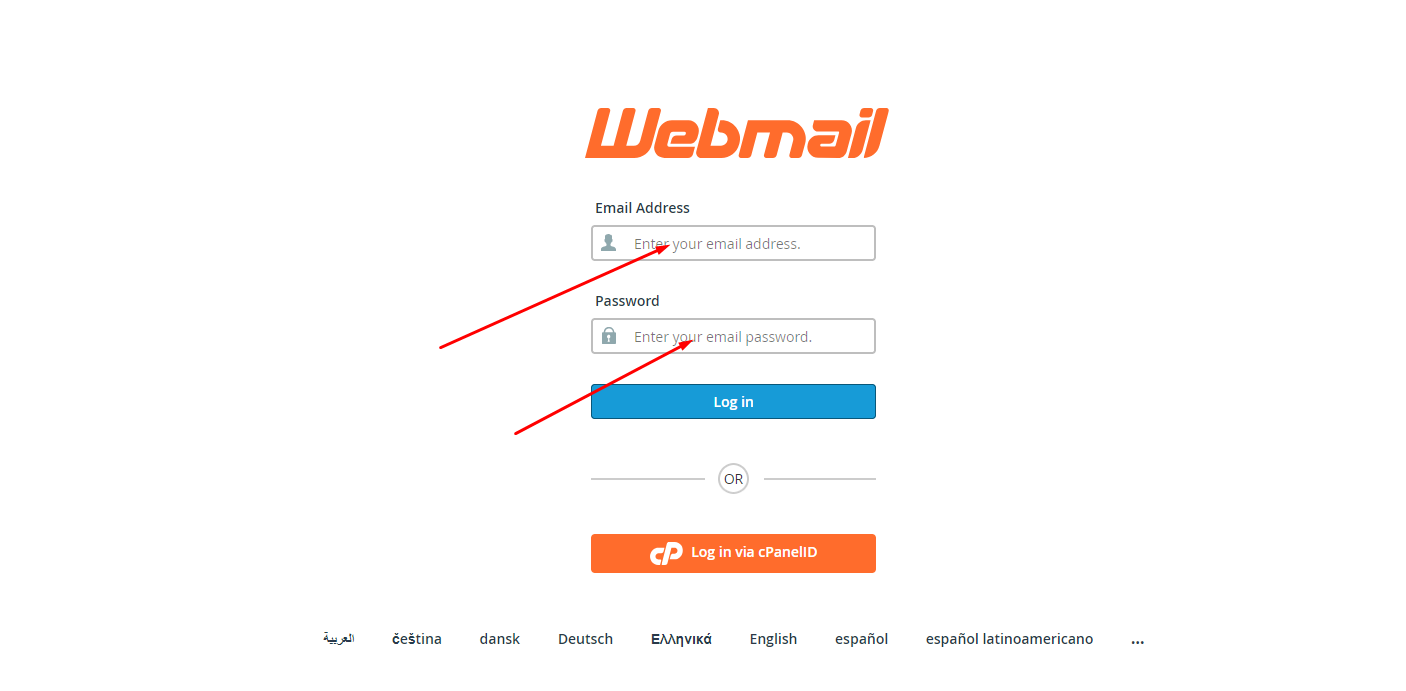
Step 1: Log in to cPanel
First, log in to your cPanel account using the login URL and credentials provided by your hosting provider.
If your website is hosted with www.cyberdeveloperbd.com, use the cPanel login details provided with your hosting account.
After logging in, you will see the cPanel Dashboard.
Step 2: Open Email Accounts
Next cPanel Dashboard, find the Email Accounts option.
Go to:
Email → Email Accounts
Click on Email Accounts to continue.
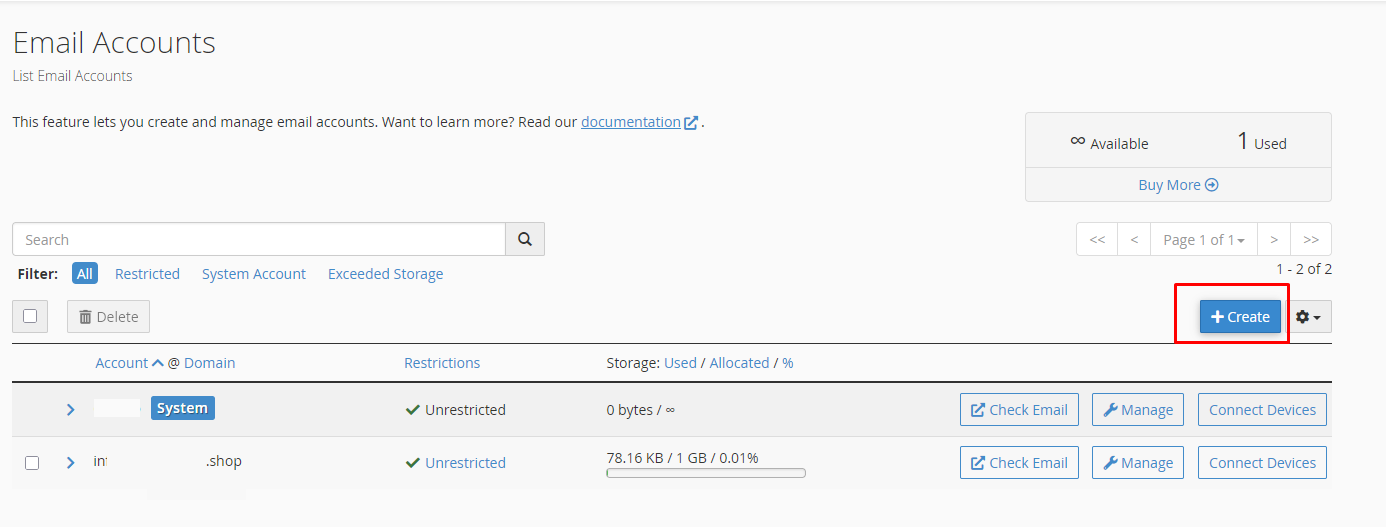
Step 3: Click Create
Then Email Accounts page, click the Create button to create a new email account.
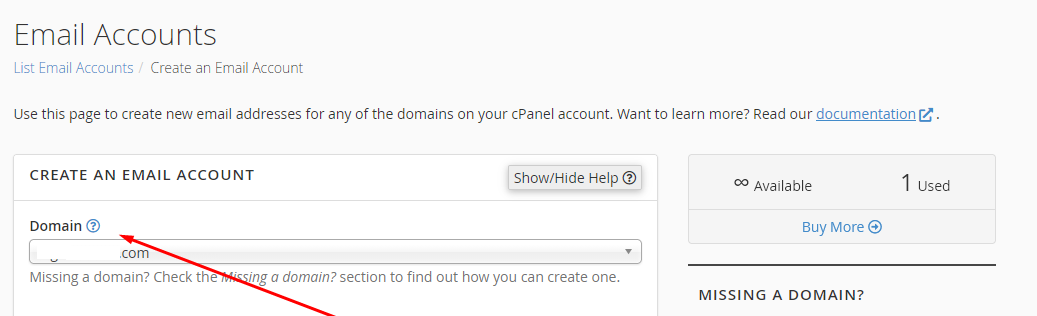
Step 4: Select Your Domain
Under the Domain option, select the domain for which you want to create the email account.
For example:
example.com

Step 5: Enter the Username
In the Username field, enter the name you want to use for your email address.
Common examples include:
-
info
-
support
-
admin
-
sales
-
contact
For example, if you enter info, your email address will be:
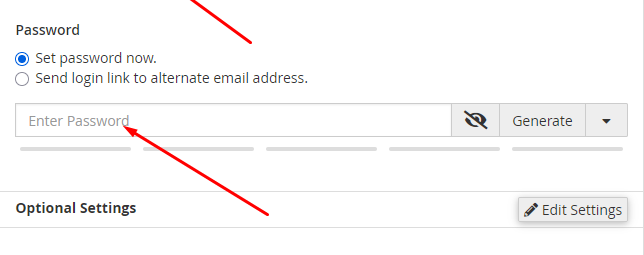
Step 6: Set a Password
Enter a strong password for your email account.
A strong password should contain a combination of:
-
Uppercase letters
-
Lowercase letters
-
Numbers
-
Special characters
Avoid using simple or easily guessable passwords.
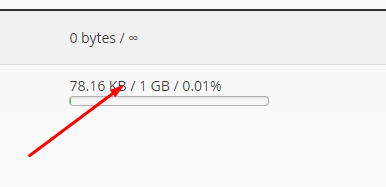
Step 7: Set Mailbox Storage
If available, set the Storage Space / Mailbox Quota for the email account.
For example:
-
500 MB
-
1 GB
-
2 GB
-
5 GB
The available storage options depend on your hosting plan.
Step 8: Create the Email Account
After entering all the required information, click the Create button.
Your new email account will be created successfully.
For example:
Step 9: Access Webmail
After creating the email account, you can access it through Webmail.
From the Email Accounts page, click Check Email next to your email account.
This will open the Webmail interface, where you can:
-
Send emails
-
Receive emails
-
Reply to messages
-
Send attachments
-
Manage your Inbox
-
Manage Sent Mail
Important Tips
-
Use professional addresses such as
info@yourdomain.comorsupport@yourdomain.comfor business communication. -
Always use a strong and unique password.
-
Keep an eye on your mailbox storage.
-
Regularly remove unnecessary emails to save storage space.
-
Be careful when opening suspicious emails or attachments.
-
Choose a reliable hosting provider such as www.cyberdeveloperbd.com for hosting and email services.
Conclusion
Creating an email account in cPanel is simple and straightforward. By using the Email Accounts section, you can select your domain, create a username, set a password, choose mailbox storage, and create a professional domain-based email account within a few minutes. If you are looking for reliable hosting and email solutions, you can explore the services available at www.cyberdeveloperbd.com.