To add a new Addon Domain in cPanel, you’ll need access to your cPanel account, which is typically provided by your web hosting provider. And update to the Domain Nameserver. Here are the steps to add an Addon Domain:
Log in to cPanel:
Access your cPanel account by entering your username and password. This information is usually provided by your hosting provider. The login URL is typically https://www.cyberdeveloperbd.com/cpanel.

Locate the “Domains” Section:
Once you’re logged in, you’ll see a dashboard with various sections. Look for the “Domains” section, which may also be labeled as “Domains” or “Addon Domains,” depending on your cPanel version.
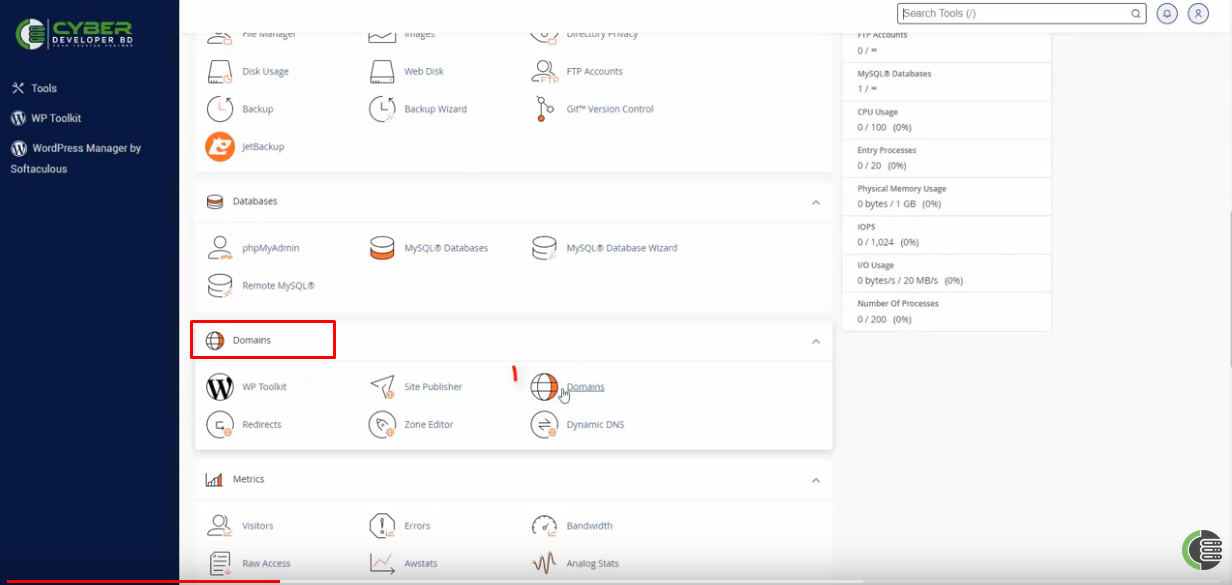
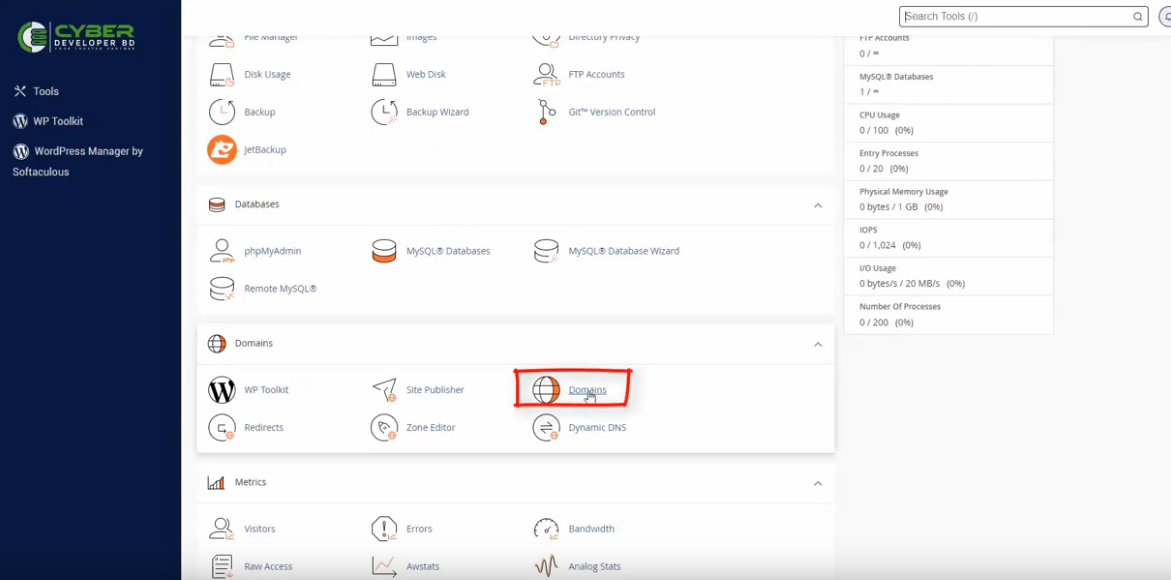
Click on “Domains”:
In the “Domains” section, you should find an option called “Domains” or “Addon Domains,” Click on it to proceed.
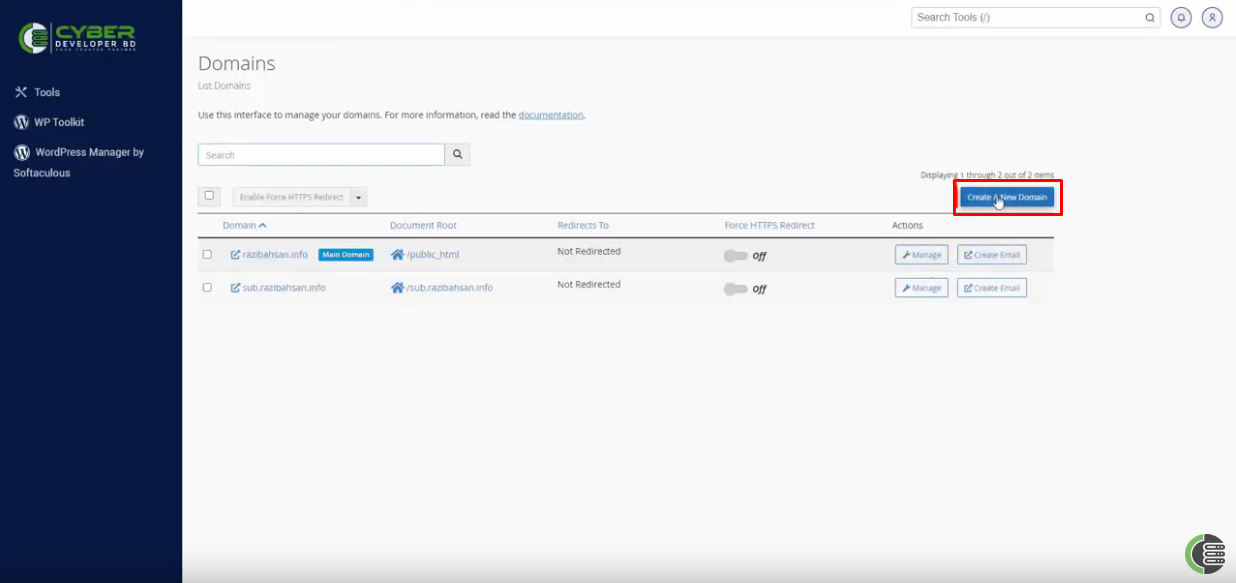
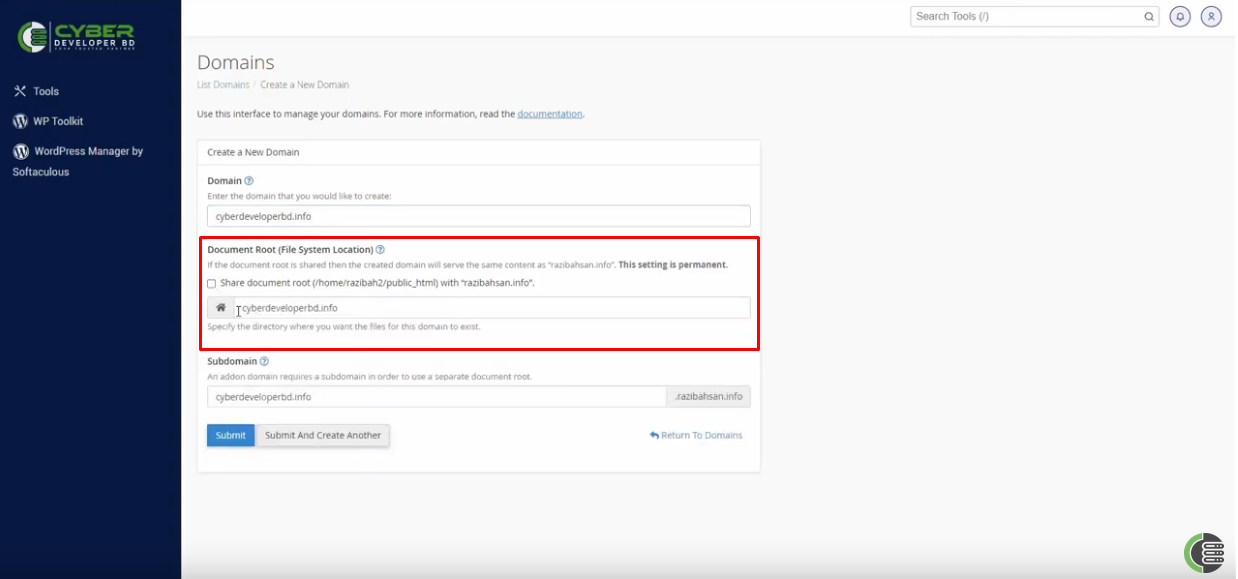
Create a New Domain:
On the “Create a New Domain” page, you’ll see a form where you can add a new addon domain. Fill in the following information:
New Domain Name: Enter the domain name you want to add as an addon domain (e.g., cyberdeveloperbd.com).
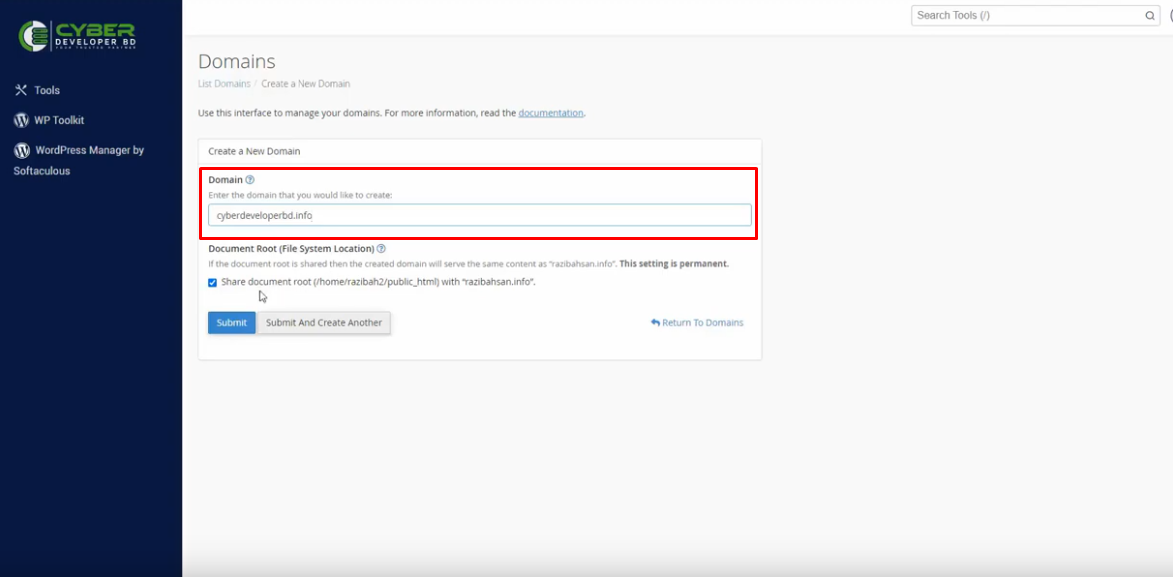
Document Root: The document root is the directory where the files for your addon domain will be stored. cPanel will suggest a default directory based on your domain name, but you can change it if necessary.
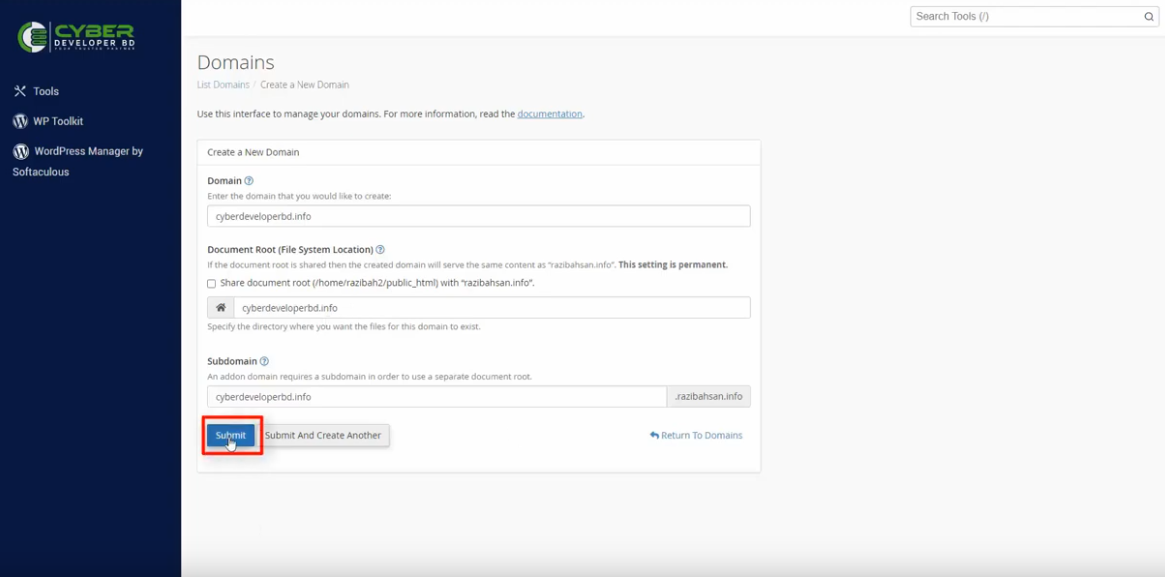
Click “Submit”:
After filling out the required information, click the “Submit” button. cPanel will now configure the addon domain, create the necessary directories, and set up DNS records.
You’ve added a new addon domain to your cPanel account. You can now upload your website files to the specified document root directory for the new domain, and it should be accessible on the internet once DNS propagation is complete.
Remember that the exact steps and layout of cPanel may vary slightly depending on your hosting provider and cPanel version, but the general process should be similar. If you encounter any issues or have specific questions, you may want to refer to your hosting provider’s documentation or support resources for assistance.