
create a database user A database stores important information for your website. WordPress and other web applications use databases to manage website data.
Fortunately, cPanel makes database management simple. You can create a database and add a user in just a few steps. You can also connect the user to your database.
Follow the steps below to complete the setup.

Create a Database User and Connect It to a Database
Step 1: Log in to cPanel
First, open your hosting cPanel login page.
Enter your cPanel username and password. Then click the login button.
After logging in, you will see the cPanel dashboard. From there, you can manage your website and hosting services.
Database User
Step 2: Open MySQL Databases
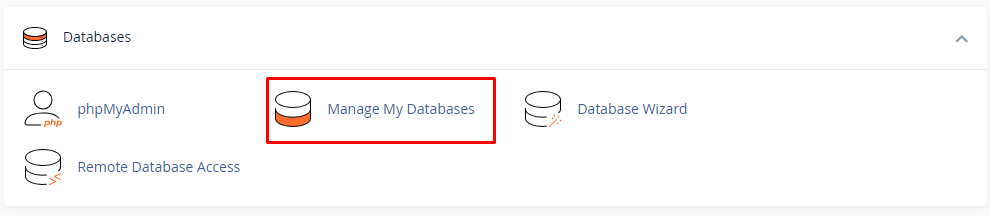
Next, look for the Databases section.
Click MySQL Databases. You will find the database management options on this page.
For example, you can create databases and users from here. You can also connect a user to a database.
Step 3: Create a Database
Before creating a user, check your database list.
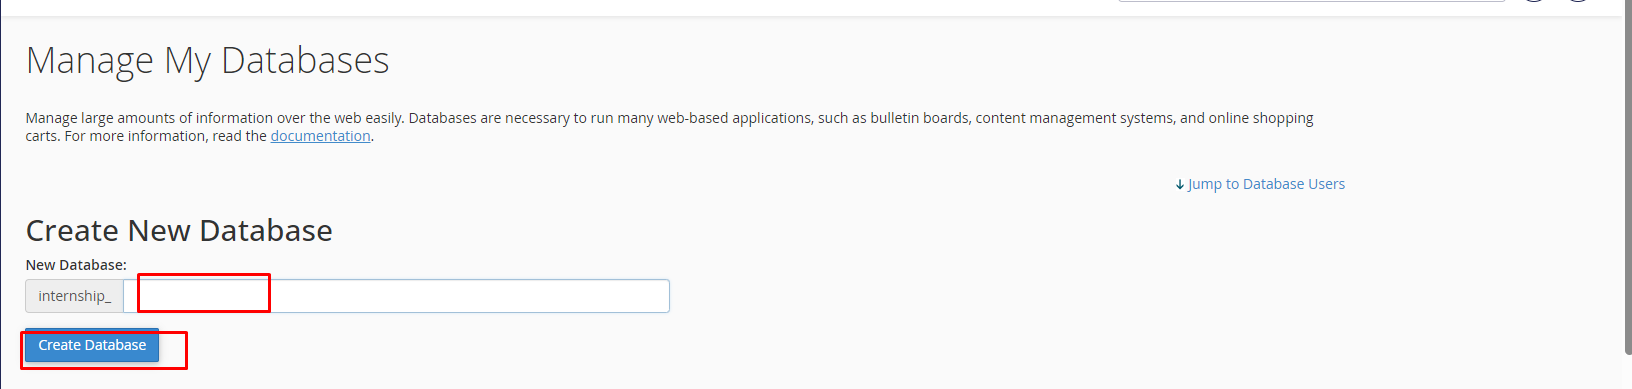
Do you already have a database? If not, create one from the Create New Database section.
Enter a suitable database name.
For example:
Database Name: website_database
After entering the name, click Create Database.
cPanel will create the database within a few seconds.
Step 4: Create a Database User
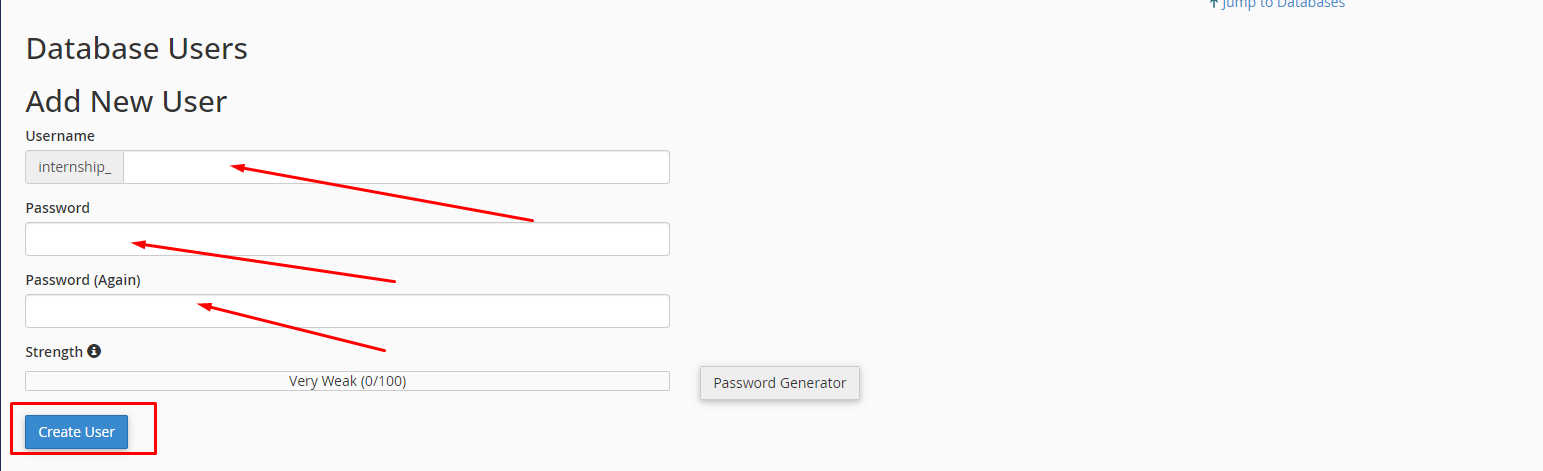
Now, scroll down to the MySQL Users section.
Look for Add New User. Enter a suitable username in the field.
For example:
Username: website_user
Next, create a strong password. Use uppercase letters, lowercase letters, numbers, and special characters.
A strong password helps protect your database from unauthorized access.
Finally, click Create User.
Your new database user is now ready.

Step 5: Connect the User to the Database
The next step is to connect the user to your database.
Scroll down to Add User To Database.
Select your database user from the User dropdown menu. Then select the required database from the Database dropdown menu.
Once you select both options, click Add.
cPanel will now open the database permissions page.
Step 6: Assign Database Permissions
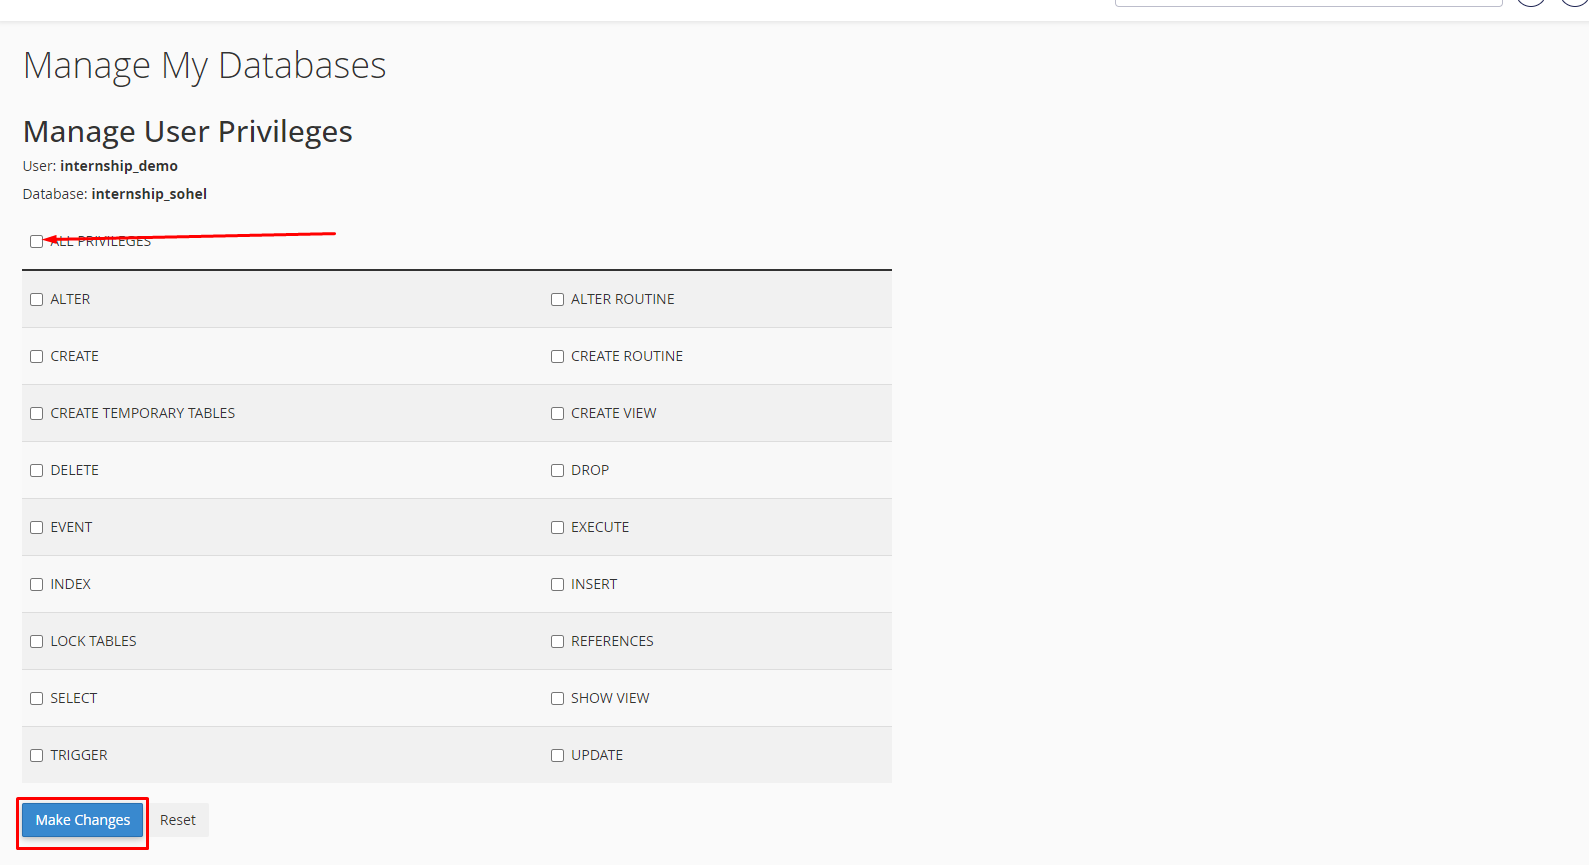
You will see several permission options on the next page.
If your website needs complete access, select ALL PRIVILEGES.
This permission allows the user to manage database tables and data.
After selecting the required permissions, click Make Changes.
Your database user is now connected to the selected database.
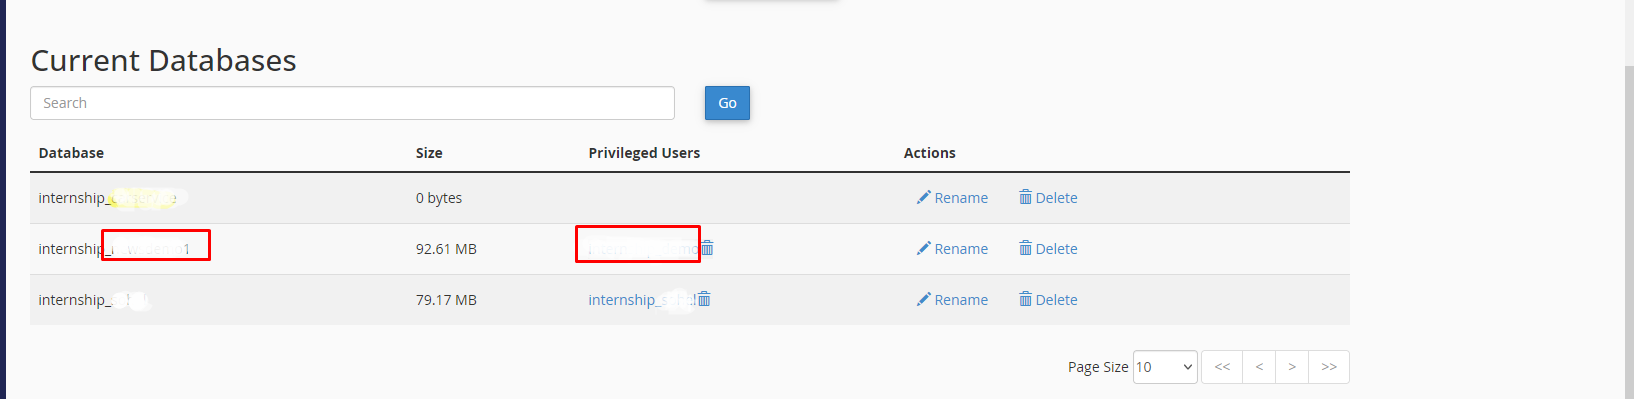
Step 7: Verify the Connection
Now, check the database and user information.
Make sure you selected the correct database. Also, confirm that the correct user is connected to it.
This quick check can prevent common database connection problems.
Step 8: Save Your Database Details
Your website needs a few details to connect to the database.
Keep the following information safe:
-
Database Name
-
Database Username
-
Database Password
-
Database Host
In most cPanel hosting environments, the database host is localhost.
However, some hosting providers may use a different database host. Therefore, check your hosting information when needed.
Step 9: Connect the Database to Your Website
Now, connect the database to your website.
For a WordPress installation, you normally add the database information to the wp-config.php file.
Enter the correct database name, username, password, and host.
Then save the file and continue with the WordPress installation.
If the details are correct, WordPress will connect to the database successfully.
Step 10: Keep Your Database Secure
Finally, protect your database information.
Always use a strong and unique password. Never share your database password publicly.
Also, give the database user only the permissions it needs.
If your website requires full access, you can select ALL PRIVILEGES.
In addition, create regular backups of your website and database. A backup can help you recover your website if a problem occurs.
Conclusion
Creating a database user with cPanel is easy.
First, create a database. Next, create a database user. Then, connect the user to the database.
Afterward, assign the required permissions. Finally, add the database details to your website configuration.
With these steps, you can prepare a database for WordPress and other web applications.