Creating a subdomain from cPanel is a relatively straightforward process. A subdomain is a subset of your main domain, often used to create separate sections or different functionalities of your website. You see, how to create a subdomain using cPanel:
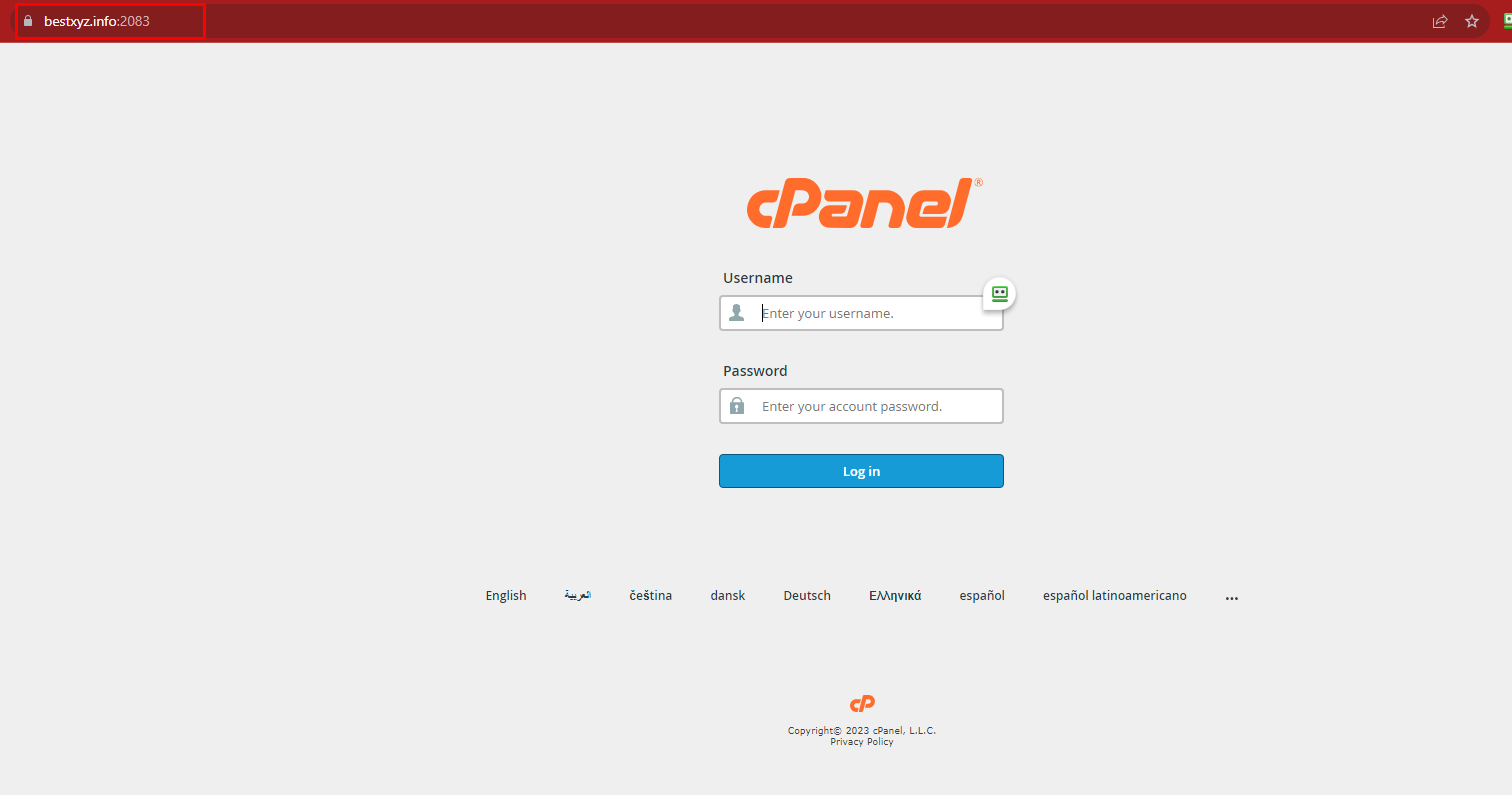
Log in to cPanel:
Open your web browser and navigate to your cPanel login page. This is usually accessed by appending “/cpanel or :2083” to your domain name (e.g., https://www.bestxyz.info/cpanel or https://www.bestxyz.info:2083/). Enter your cPanel username and password to log in.
Locate the “Subdomains” Section:
After logging in, click on the “Domains/Subdomains”.
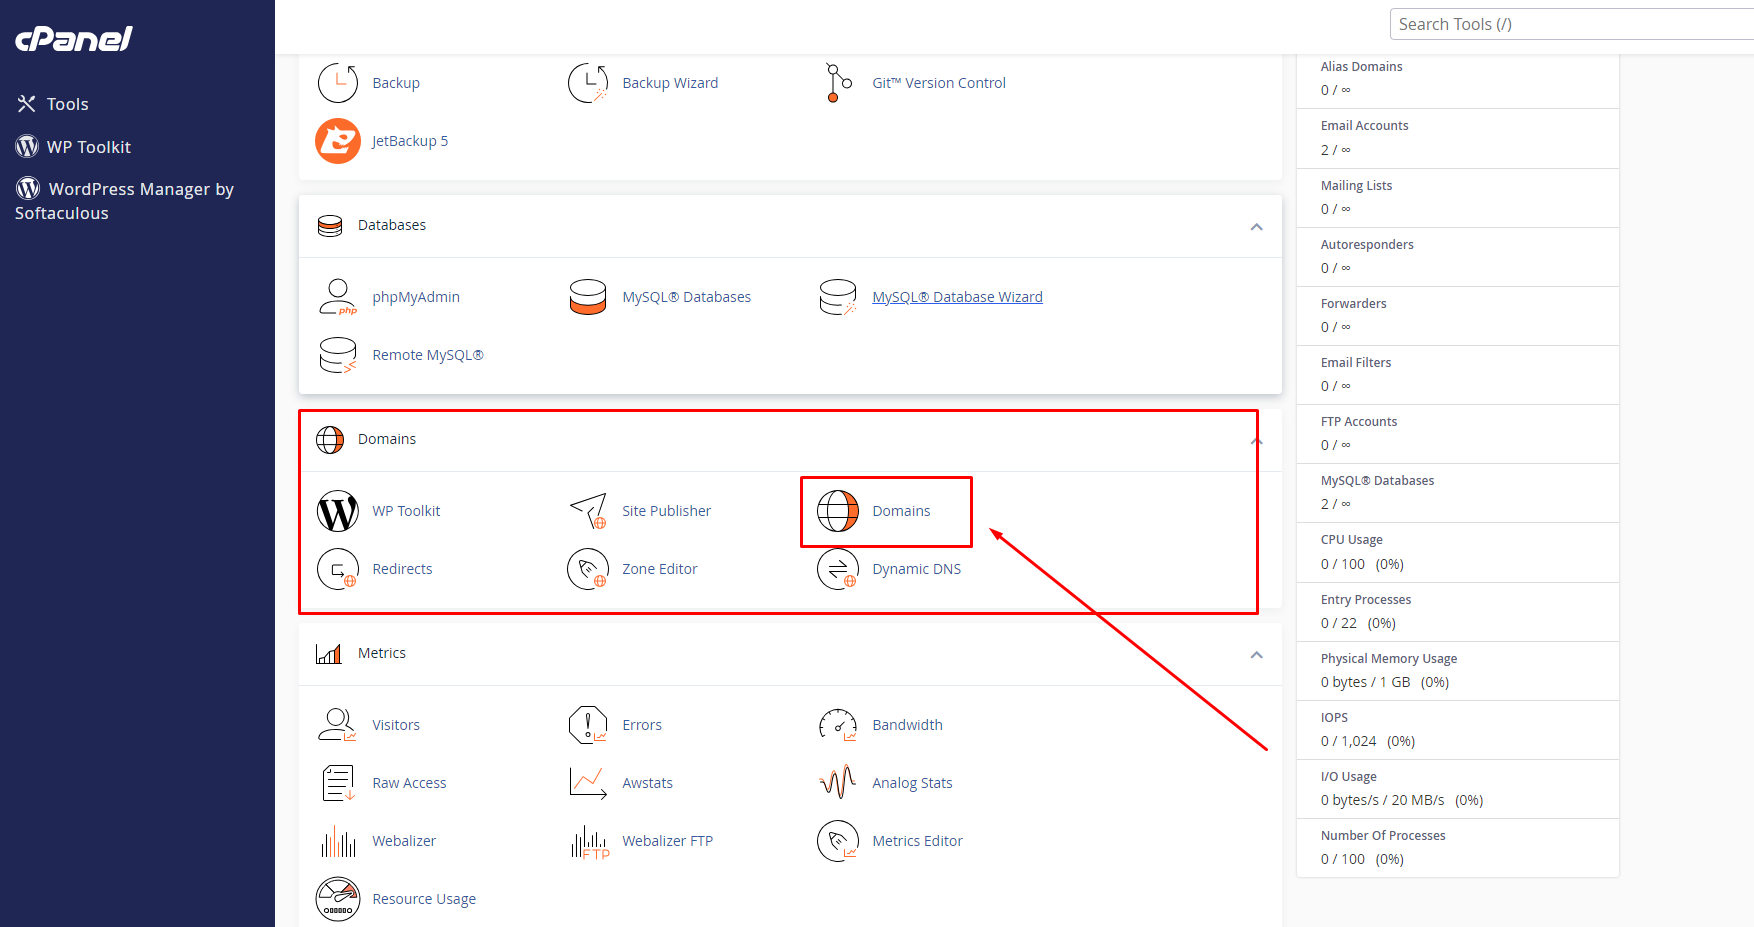
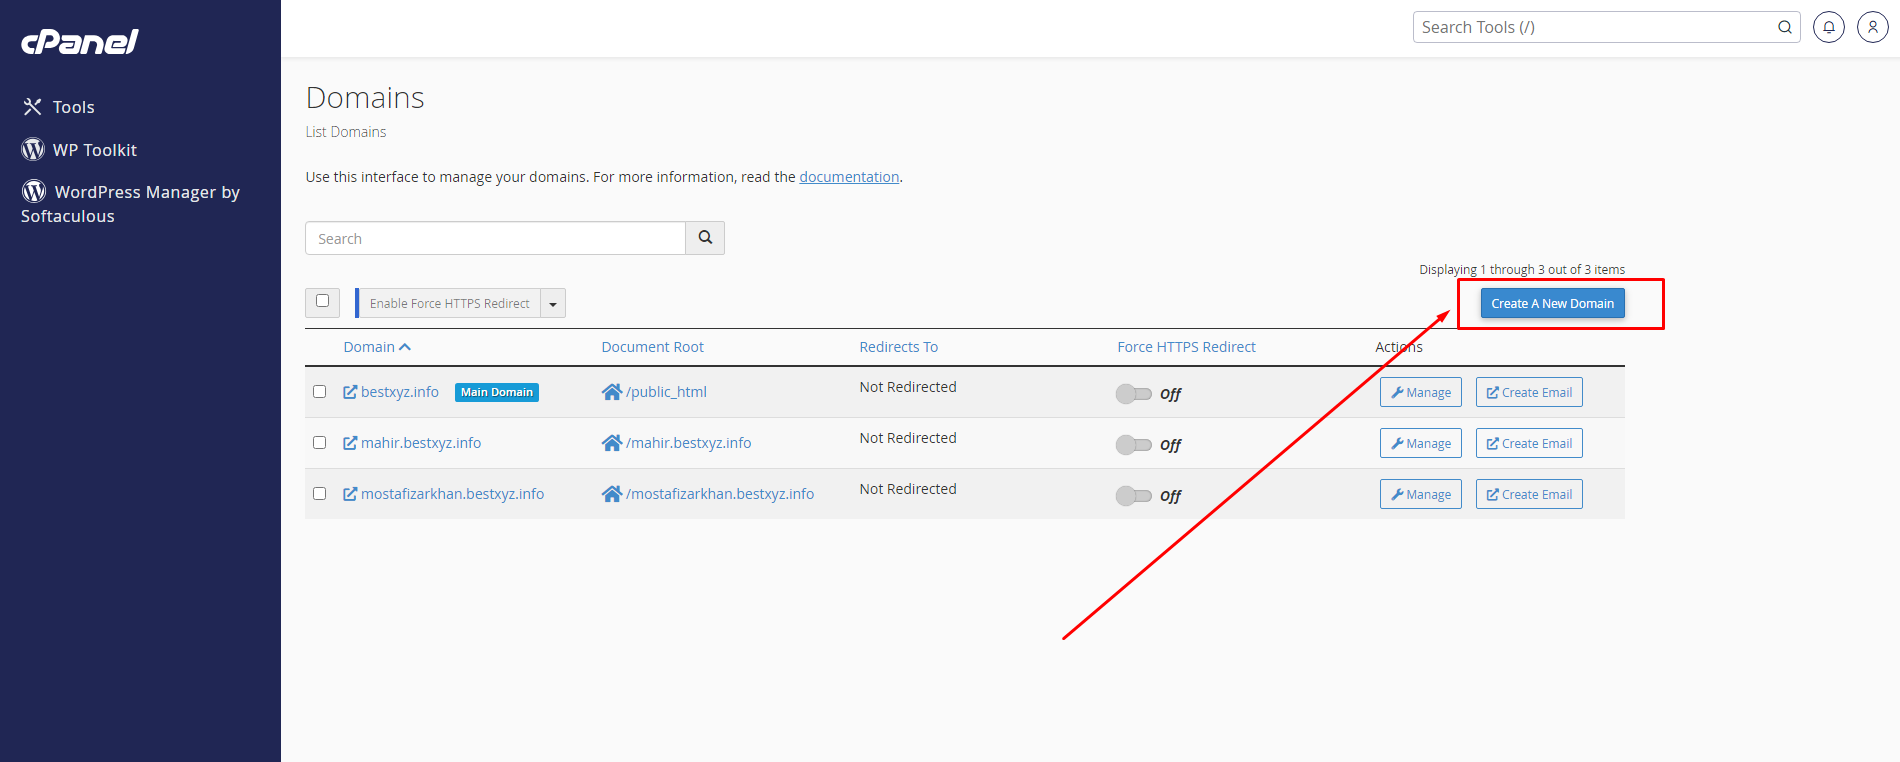
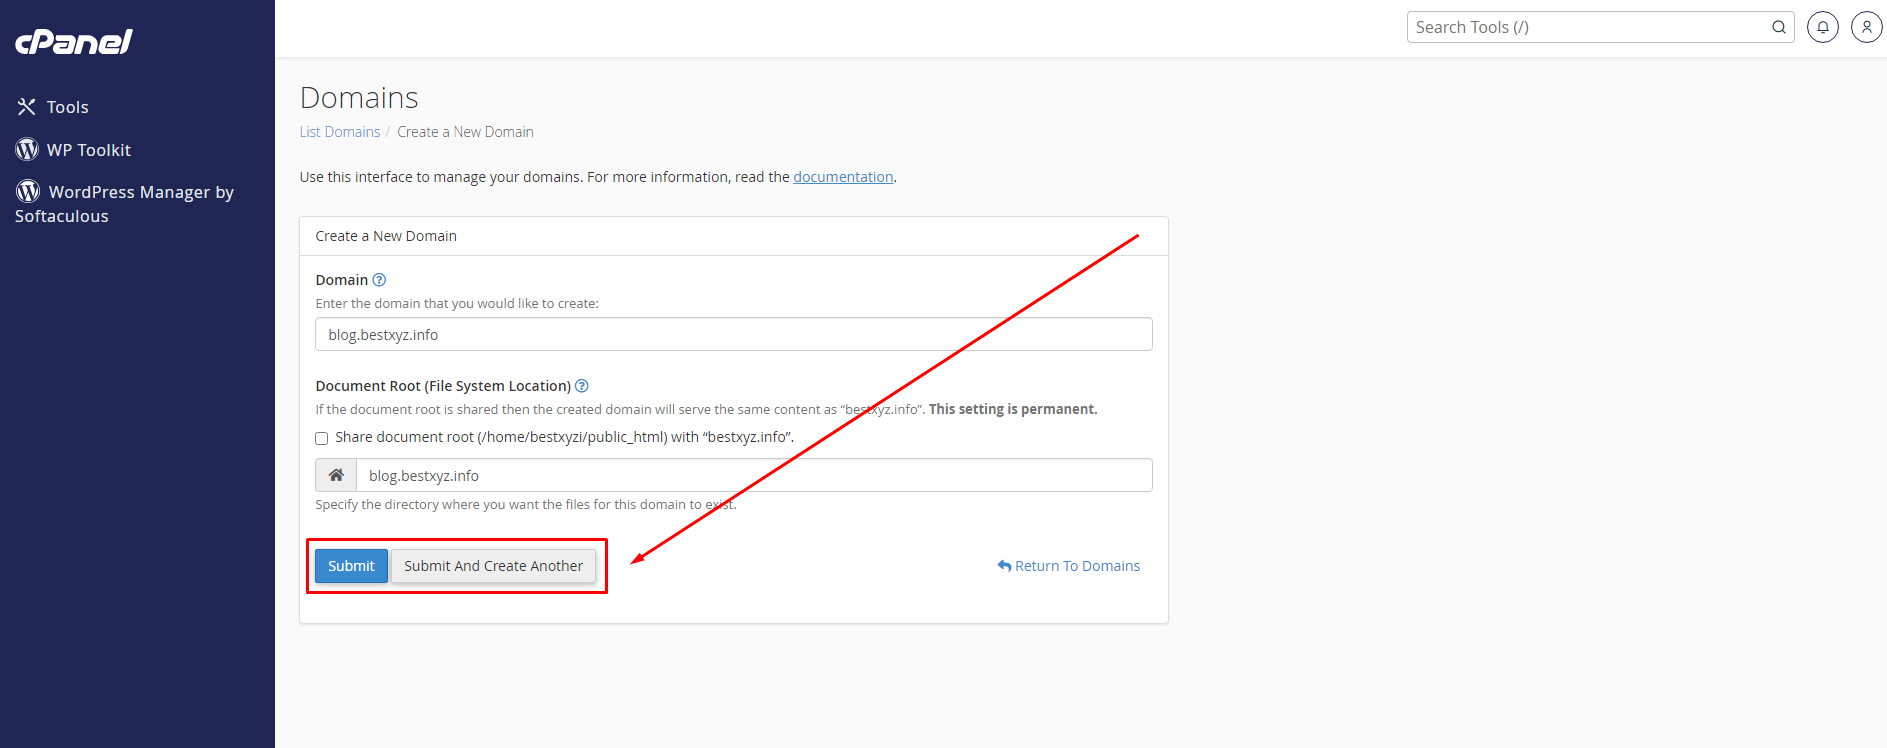
Then click on the “Create a New Domain”.
Create a Subdomain:
In the “Subdomains” section, you will find a form to create a new subdomain. Follow these steps:
Subdomain: Enter the desired name for your subdomain. For example, if you want to create a subdomain called “blog” for your main domain “bestxyz.info,” you would enter “blog” in this field. then enter the main domain.
Document Root: This is the directory where the subdomain’s files will be stored. You can leave this field empty to use the default location, or you can specify a different directory if needed.
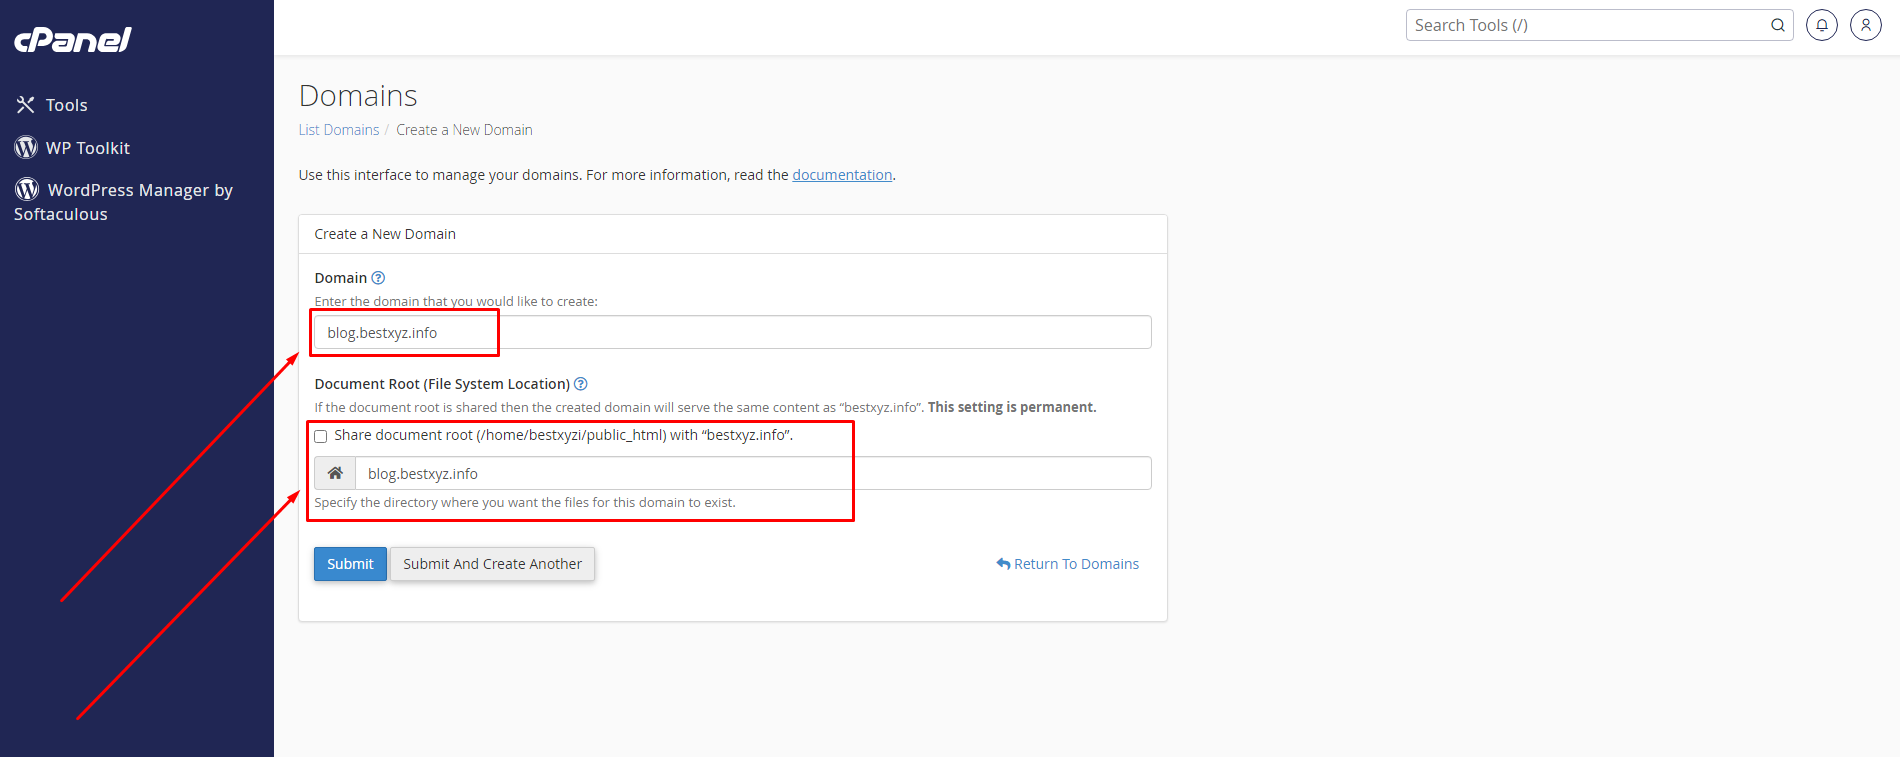
Click on Submit:
Once you’ve filled in the required information, click the “Submit” button. cPanel will then create the subdomain and set up the necessary DNS records.
DNS Propagation:
It might take some time for the DNS changes to propagate across the internet. This can vary from a few minutes to several hours. During this time, your subdomain might not be accessible.